SQL Server 2017 CTP Pre- release Installation step by step process:
Select the media from the drive and choose setup file -> right click on the setup and run as administrator.
STEP 1. From the Installation tab : select New SQL Server stand alone installation add features to an existing installation for new SQL server configuration.
STEP 2. Enter the product key for the complete setup or else select the ‘specify a free edition’ option for limited period.
STEP 3. ON License Terms click “I accept the license terms” and click Next
STEP 4. Click Install and select next step

STEP 5. Verify SQL Server Feature Installation is selected:
On Feature Selection select
- Database Engine Services
- Select Client Tools
- If you want to Install with all features including(SSRS, SSIS, SSAS) choose ‘Select All’ and click next and change drive letter from default C to any drive as per your requirement.

Additional features from the Feature Selection window.

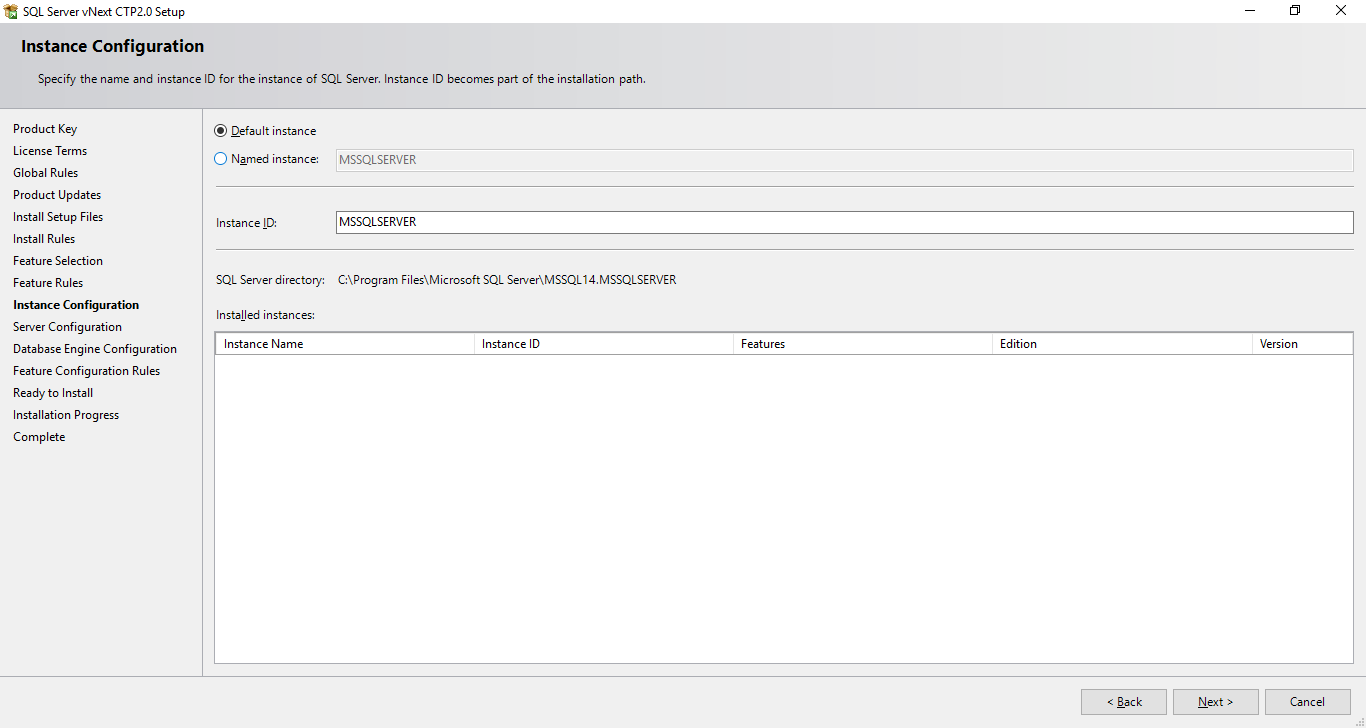
STEP 6. On the Instance Configuration screen select Default Instance or Named Instance to configure SQL Server.
STEP 7. Create 2 domain service accounts and 1 SA account in the windows server or machine.

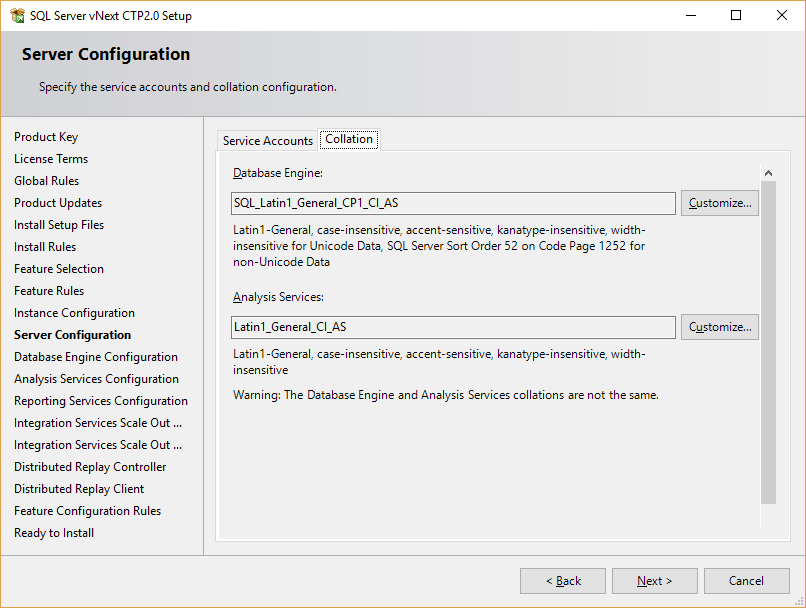
STEP 8. Select the default collation settings ‘SQL_Latin1_General_CP1_CI-AS’ for Database Engine and for Analysis Services select ‘Latin1_General_CI_AS’ then click next.
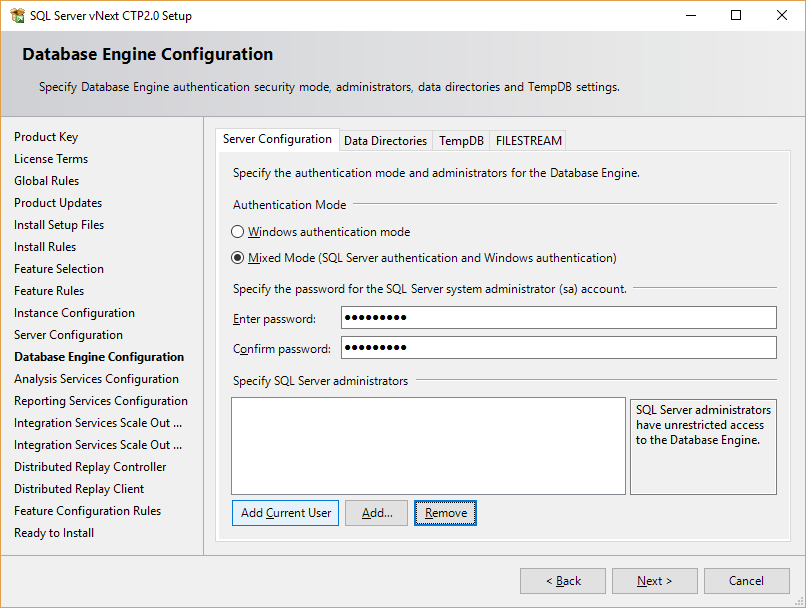
STEP 9. On Database Engine Configuration Screen (Server Configuration tab) Select Mixed Mode enter the password you. Click Add current user or Add button to add additional SQL Administrators.
STEP 10. From the Data Directories tab select the root directory for database, log and Backup files .

STEP 11. This is the new option from the SQL 2016 onwards to select multiple tempdb files and its sizes. Select the options as per your requirement from the TempDB tab.

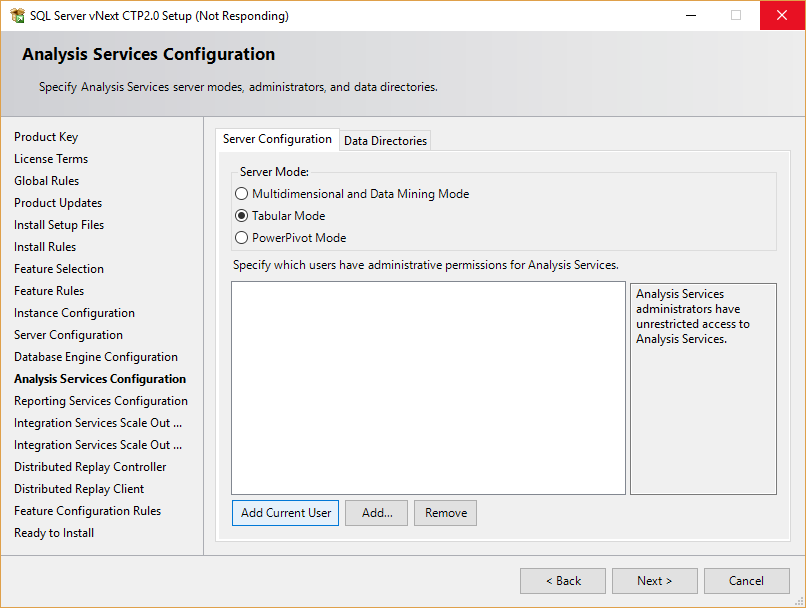
STEP 12. On the Analysis Services Configuration screen select ‘Add Current User’ for server mode configurations and then click next.
STEP 13. Select root directories for SSAS Data, Log Temp and Backup directory.

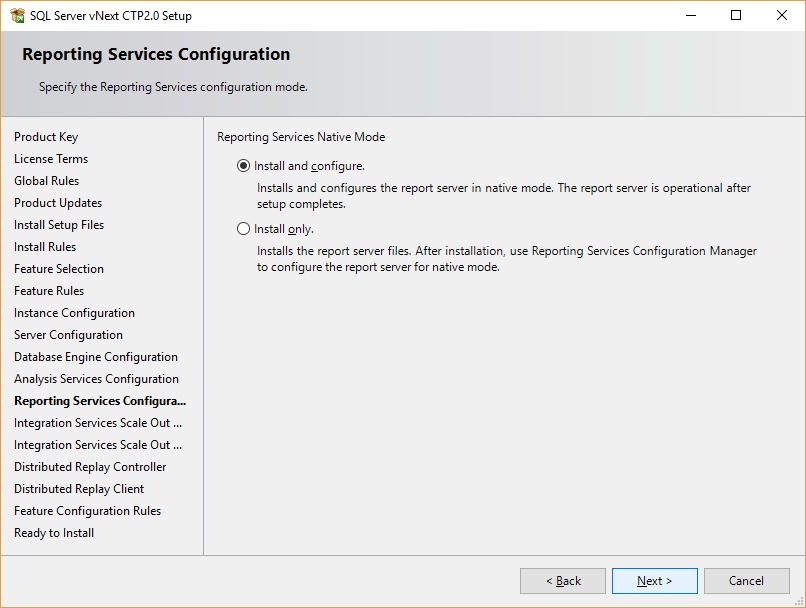
STEP 14. From the Reporting Services Configuration select ‘Install and configure’ option for installing Reporting Seri vices Native Mode.
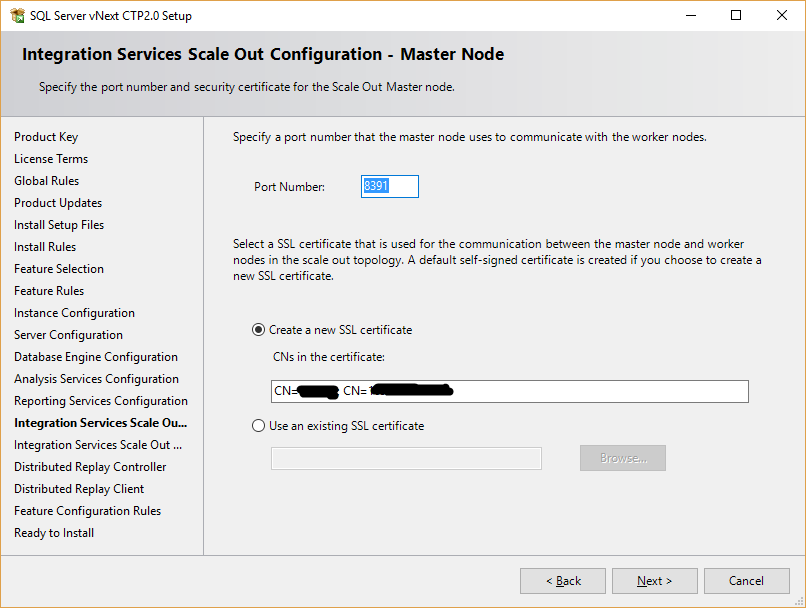
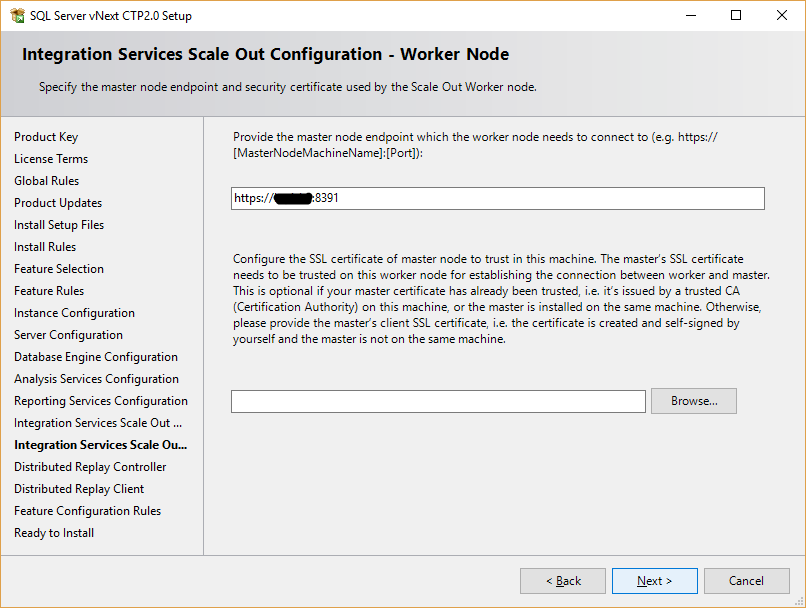
STEP 15. Specify a port number for the master node users to communicate with the worker nodes.
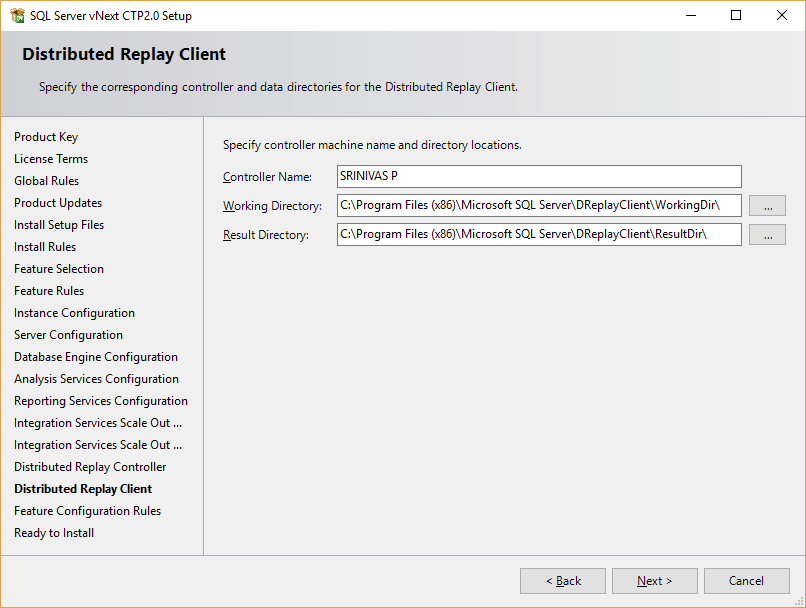
STEP 16. Microsoft SQL Server Distributed Replay feature helps you assess the impact of future SQL Server upgrades. You can also use it to help assess the impact of hardware and operating system upgrades, and SQL Server tuning.
Microsoft SQL Server Distributed Replay feature can use multiple computers to replay trace data and simulate a mission-critical workload. Use Distributed Replay for application compatibility testing, performance testing, or capacity planning.

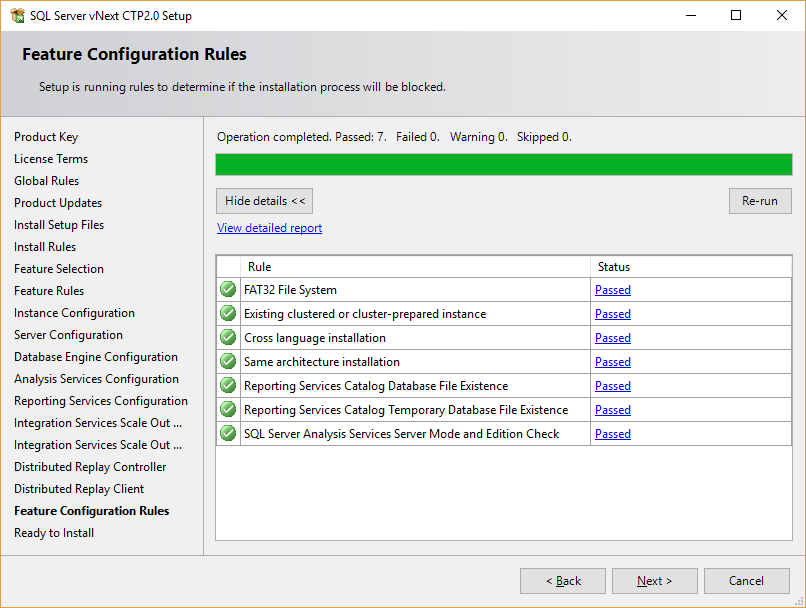
STEP 17. Select Feature Configuration Rules to check all the Rules has been passed and ready to install SQL Server 2017
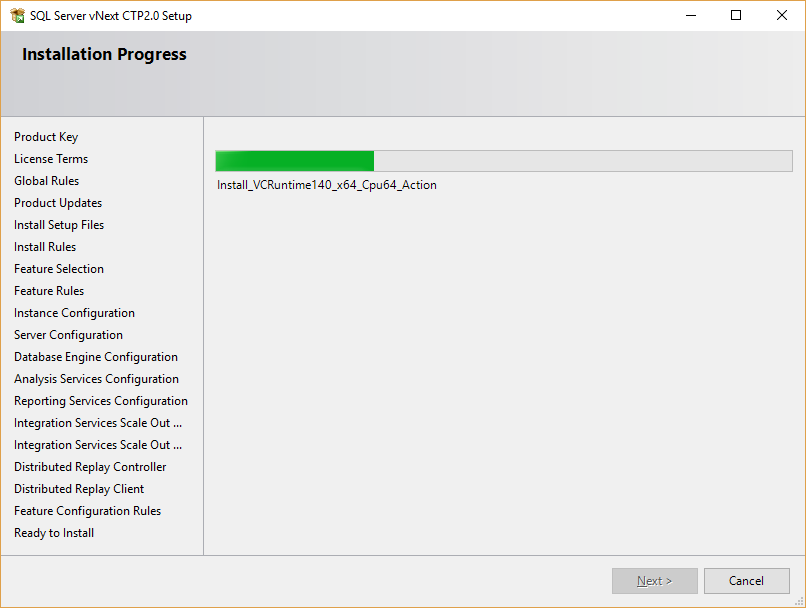
STEP 18. Click Install button to configure new SQL Server setup in your environment.

Once by clicking on the Install button it shows the Installation Progress it takes a while to setup the SQL Server.
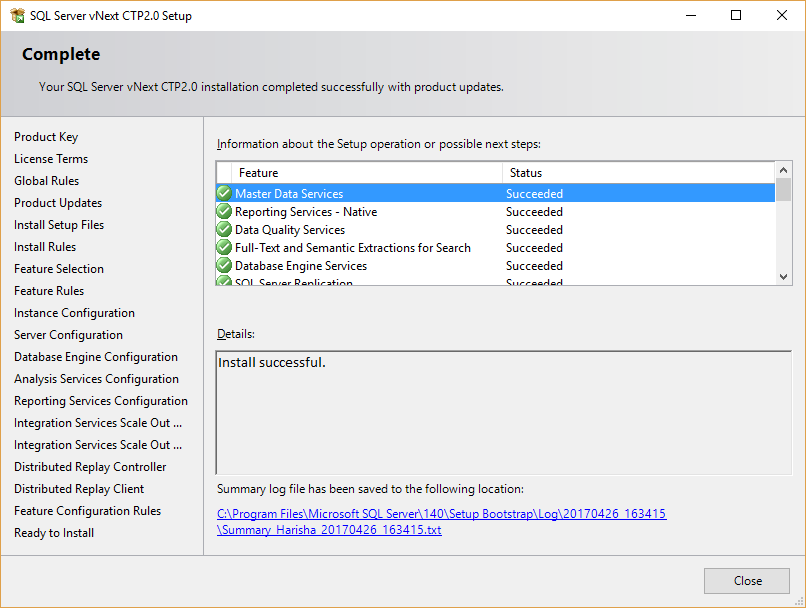
Once the Installation done the status tab will show Succeeded for all selected Features.
Thanks for following, this is only preview version of SQL 2017 and there are lots of additional features into windows and Linux platform for SQL Server will discuss them into the future blog.
No comments:
Post a Comment